To position the objects on the map, just drag them from the list positioned on the left of the screen, as shown in the figure below:
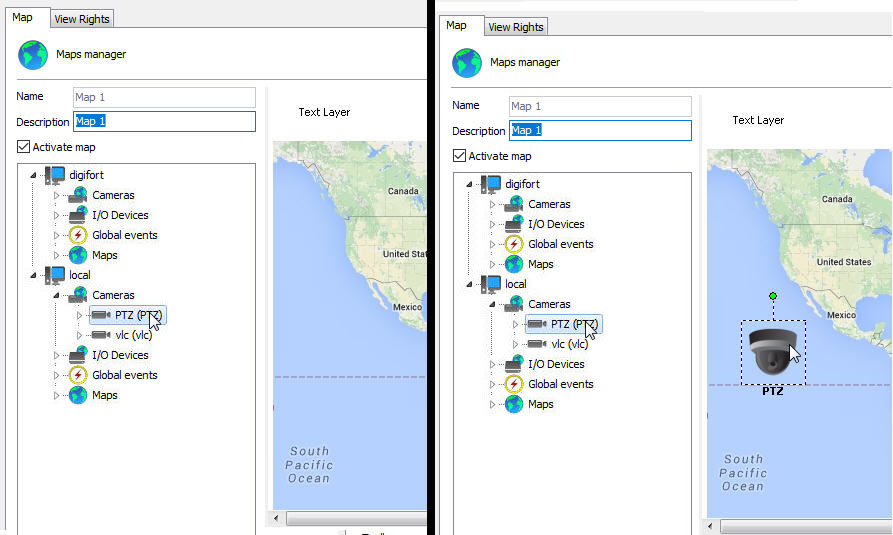
From the list of cameras located on the left, drag the desired camera onto the map. It will take the form of a camera on the map as shown in the figure below:
To move it on the map, just click on its icon and drag it to the desired location.

The camera can be rotated by the rotation axis shown in the figure, just click on it and move the mouse cursor.
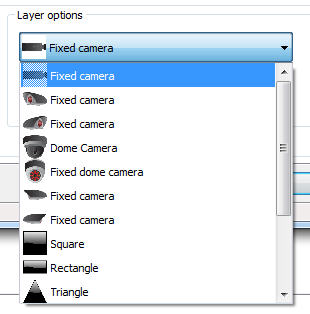
It is possible to change the camera icon, select it and in the Layer Options menu choose the desired icon as shown in the figure below:
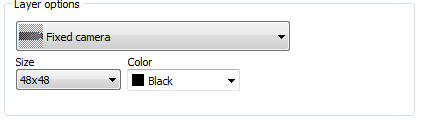
There is also an option to change the size and color of the icons. In the layer's Options menu, locate the Size and Color boxes shown in the figure and change the values by clicking on them.
In addition, it is possible to configure live feedback on PTZ cameras. Live Feedback will provide the current position of the camera on the map by rotating the camera icon to where the camera is currently facing. In the Live Feedback menu select the option to enable live feedback and calibrate your starting position.
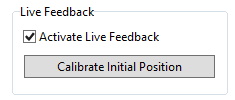
When clicking on the calibrate initial position button, the following window will open:
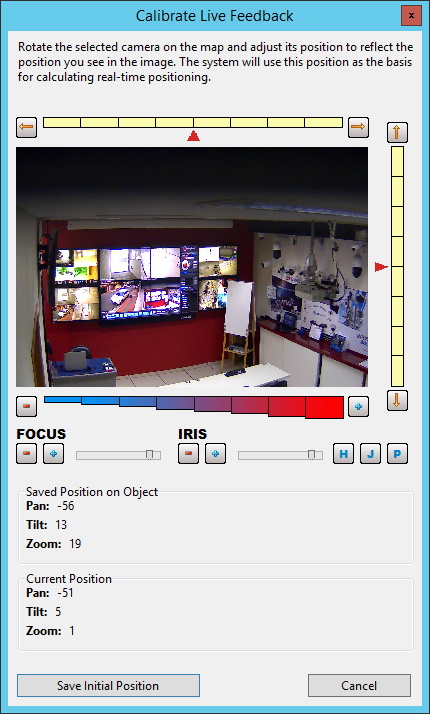
On this screen, position the camera to match the current position of the camera icon on the map and click Save Initial Position.